Thursday, May 17, 2012

Another dresser re-do like the "crack-house" dresser.

 I was surprised at the interest in the crack-house dresser that I had painted.  I had listed on CL and got quite a few calls. I even had multiple buyers for it on the same day. The person asked me if I was going to be doing any more like it.  So, when I came across these two siblings, I thought I could paint one in the same fashion.  So I did! 
  Like my garage??? 3 dressers (four if you count the one you can't see) a hutch and a buffet....all awaiting my time.  Yeah, ok, sure...I'll get right on that.  The two siblings are on the left with the oh-so fetching coat of arms brand-thing is what I'm working on.  The one below is the smaller of the two. 
  I don't even know what that green/yellow monstrosity is, even the owner didn't know what it was. 
All I know was that it had to go bye-bye. Some wood filler and a good sanding, and away it went. 

                      So...here it is,,,,crack-house dresser paint #2!
This one was in far better shape.  I refinished the top and shined up all the brass hardware.

 The top was refinished with Varthane gel walnut, wood sealer, and dark paste wax. I used the same turquoise and orange paint.  The yellow was just something I had laying (lying?? I always get those mixed up...dogs lay, people lie..What about paint?? Hah!) around.

 The Hub polished up all the hardware on his polisher. Almost looks as though they brass plated copper! 

              The little brass studs were solid black. They shined up pretty durn good!!
I thought this fabric went perfectly with the colors. 


                                                This is a really nice shot of my cat's butt.


Linking up to all my faves, see below......plus http://www.myrepurposedlife.net/</a>

Tuesday, May 15, 2012

My Painted Butterfly


I tried something different the other day. Painting. No,,,not like painting painting,,,I mean really painting....like all Van Gogh-like.   I have never really painted anything. 


 My intention was to do the transfer thing from the Graphics Fairy. Which I did. 
But it barely transferred. I don't know what I'm doing wrong. All I managed to get was the outline
of the butterfly and the faint writing of the letters. 
 So I started to outline the whole shebang in black liner. And then I thought, hmmm, how hard can
it be to paint in the colors??? I have some artist brushes. If it doesn't work out, I'll just sand the whole                   thing off and start over.  It's only paint!!!  So that's what I did.
 I had already painted the table in my chalk paint using DE "Lambs Wool".  I just love that name.
                                                It's a very faint creamy pale yellow.
I was a paint mixin' fool! I didn't have the exact shade of green as the pic, so I mixed a few.

 Viola! 
Don't be trying to spot the differences from either side. I know butterflies are mirror images
on their wings. Mine isn't! Hah! 

 Thank You Graphics Fairy for the lovely print. 

Saturday, May 12, 2012

My first drop leaf table restoration!

I picked up this drop leaf on a visit to a local estate sale. I had been wanting to do one for awhile and the price was right.  this is a Duncan Phyfe -Style....notice I said Style.....I did a little research and got some info from an antiques expert. Antique is usually something of at least 100 years old. 
And Duncan Phyfe was a furniture maker in the early 1800's. If you actually have a Duncan Phyfe anything, it's probably  180+years old! So, anything made later than that in his style, is a knock-off.
 I was told that the wood on the tables are of a mahogany veneer. The legs on the larger table are made from "red gum" wood and then stained to look like mahogany.
Here are the two items I got. The little guy was refurbed with the nautical compass. 


This wood refinishing was pretty straightforward.  After sanding, I applied Varthane dark walnut gel.
           The body got a coat of home made chalk paint using DE "lambswool".
And here's what I ended up with....

sigh....i know,,,it's off-center......


         Hub used the buffer and "mothers" to get the brassy-ness on her feet back to original.


So there 'ya have it! A little history lesson the Duncan Phyfe's ! 


Thursday, May 10, 2012

Cute little vintage table w/Nautical Compass

 So I stumbled across this cute little vintage piece at an estate sale. I found a drop leaf
Duncan Phyfe-style table (post to come) and saw this guy next to him. The owner was asking 15
bucks for it. Um,,,,wait,,,,OK! 

I removed the metal band and the hardware, and went to town with the sandpaper. 
I didn't know what color to do it in. 
 And then I happened upon Domestically Speaking's post and saw her blog on painted rugs. 
I came across the nautical compass on a rug done by Mandi at
Vintage Revivals   here.
Her instructions were awesome!!  I scaled her measurements down to fit inside this table, but it was
pretty darn easy! I found the middle and drew a cross that measured about 12". Then the intersecting lines were done at about 7".  I connected the dots. Drew 2 circles, outlined them and then painted. I used my 2" letter stencils and then sealed the whole mess w/wax. Piece 'O cake!!  If you need to see detailed instructions, her tutorial has some great pics and how to's.  Oh, and her rug that she drew this on came out unbelievable! Check out her blog (after you finish mine of course!)
 This is my koi pond.  My fish are checkin' out the table!!


I used some Mother of Pearl knobs that I picked up from HL 


 Oh i forgot,,,,Paint.....Um, i used a custardy (yes it's a word) yellow on the base and then
painted over everything with Martha Stewart's "Marine"mixed w/a little gray.  I used my own chalk paint recipe. The gray on the compass is also MS


 The drawer got finished in the same custard-y yellow....
Her brassy feet polished up nicely! 


And there you have it! One vintage table turned into a cute little accent piece. I hope someone
really enjoys this piece.  I don't have anywhere for it.


Linking up to...... The shabby nest


Monday, May 7, 2012

Peacock Desk---Another one!!

So I had my 1st peacock desk/vanity up for sale on CL. I had two calls within an hour, both wanting the desk. Naturally the first person got it. So the 2nd one asked if I could do another. We hunted around on CL for a week and I found an almost identical vanity to the first one I did. 
I had already started working on it before I remembered to grab the camera. 


My client wanted the desk done the same way, minus the blue accent. This was going in her 6 year old daughters room with zebra accents and purple walls. So I did the accents in violet. She also brought over a bookcase and nightstand for me to finish to match the desk. 

 I did the same ASCP in Pure White on the two pieces as well as the desk. 
I mixed some purple latex paint and got this lavender shade (it's not as blue in person).
 I tied in the night stand with a peacock feather and black accent drawer, as well as violet accents. 
   
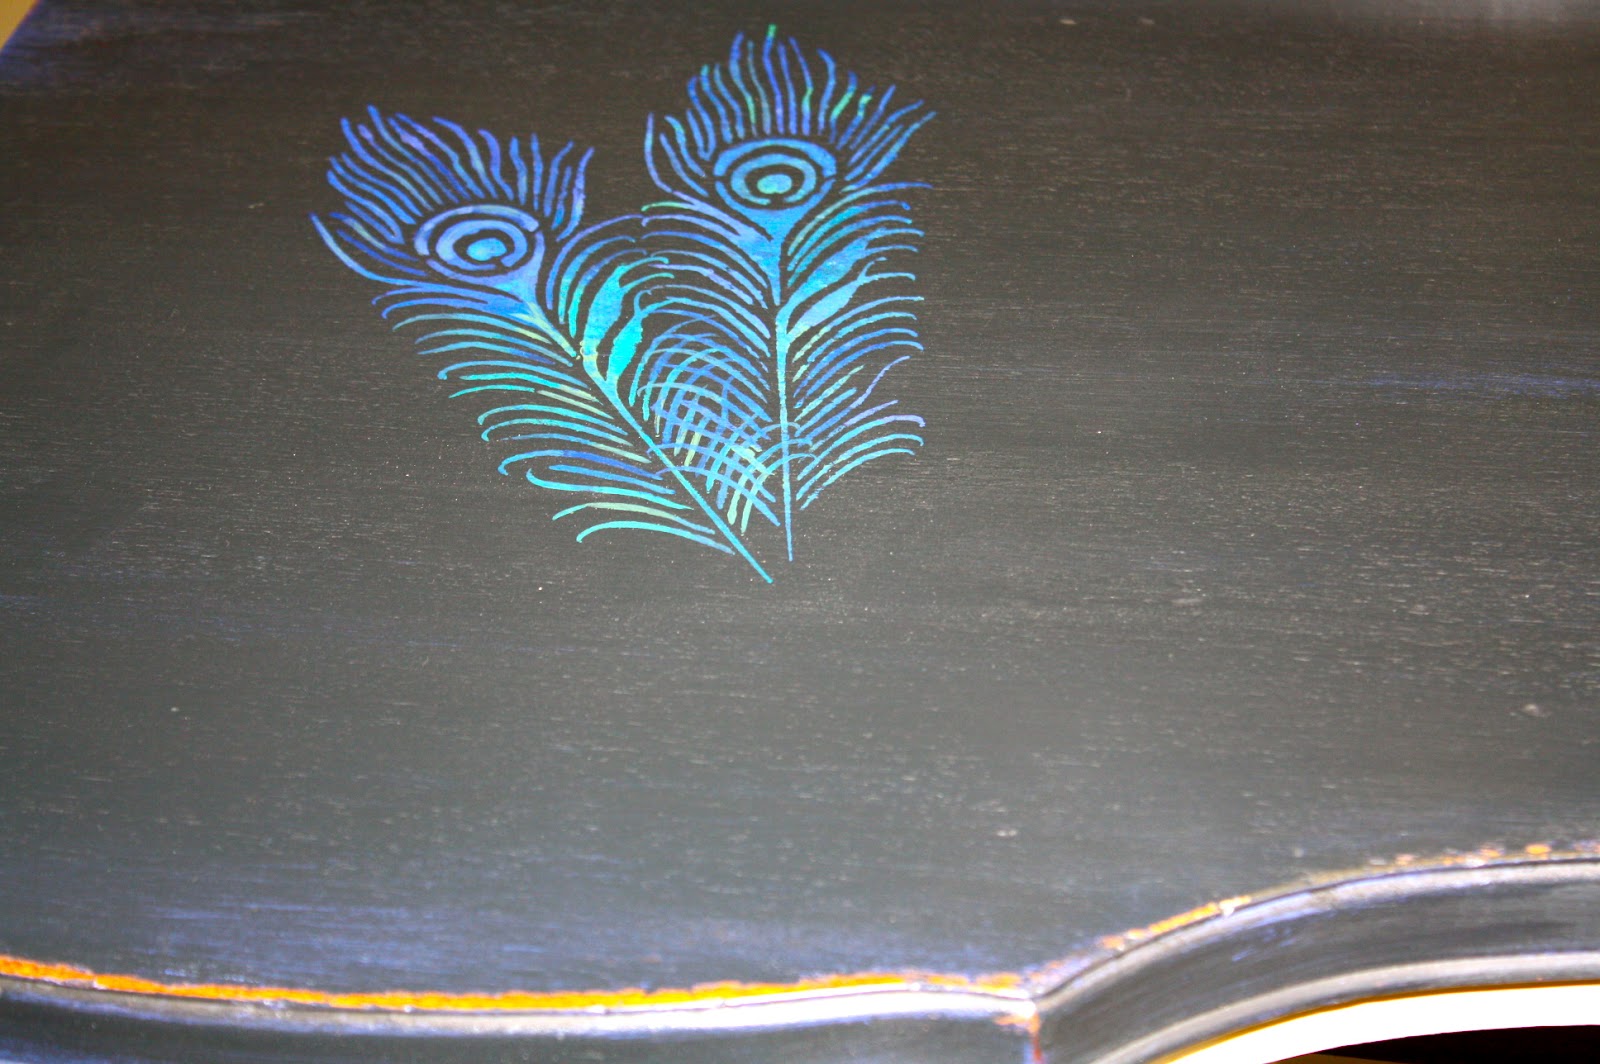
Here is my painting process for the peacock feathers. I finished it up after it dried w/dark paste wax.


The black is my own CP recipe. I painted the drawers and lined them.


The two bottom drawers
got "special" peacock
fabric! 


I did have a small issue with the ASCP white not covering completely. I kept getting a bleed
through of the mahogany stain, even after 3 coats. Sooooo I sanded most of it off and applied
an oil base primer very thoroughly. That did the trick. 


I made the custom hanger for the daughter and tried out my new letter stencils! 

She picked it up over the weekend and everyone liked it.  I will post a picture of everything 
in her room as soon as I get a pic!!

Ok....so here is Sydney's room!!
Mom is still looking for a vanity stool/desk.
I'm hoping that background on the bookcase isn't as blue in person.  It was a nice violet
when I painted it.  I should have asked mom for a bit of the wall color so I could match it.
Hmmmmm,,,,,live and learn!
Her one-of-a-kind accessory hanger!! 


I will be linking up at all my favorite party places at the bottom of this page!!