Friday, September 13, 2013

Retro in Black and White

Lately it seems all my work is being done on mid-century pieces. I went up a few decades and 
wandered into the '70's.  Ah yes, the wonderful '70's.  Great times. 
But dreadful clothing and furniture! Behold the common dresser:
                   At least it's wood and not laminate. Veneer is just barely one step up.

But these do clean up nicely!!!
I would like to give a shout out to Dionne over at The Turquoise Iris for this inspiration. 
I saw one she did in black and white that was just beautiful! She always does such unique work.

                                 The body got primered in gray and the front white.
I used a semi-gloss in both the white and the black.  But I had the hardest time getting the top
to smooth out. I used a Sherwin Williams acrylic and painted at least 3-4 coats. Was not happy.
I sanded between coats but just could not get his smooth. So I completely sanded it off and started over.
This time I used a BM black. Much better. 
The handles were sprayed with carbon mist and highlighted w/gold gilding wax.

          And of course there always has to be a little surprise detail when you look behind the door.


Viola'


Linking up at my fave parties!! :
Kammys Korner - Trash to Treasure Tuesdays
Domestically Speaking - The Power of Paint Party
The Shabby Creek Cottage - Transformation Thursday
Miss Mustardseed - Furniture Feature Friday
Homespun Happenings - Rustic Restorations Weekend
Funky Junk Interiors - Saturday Night Special
1929 Charmer - Sunday's Best Party
Knick of Time Interiors - Knick of Time Tuesday
                                                   The Dedicated House,-Mon
                                         Redoux


Monday, September 9, 2013

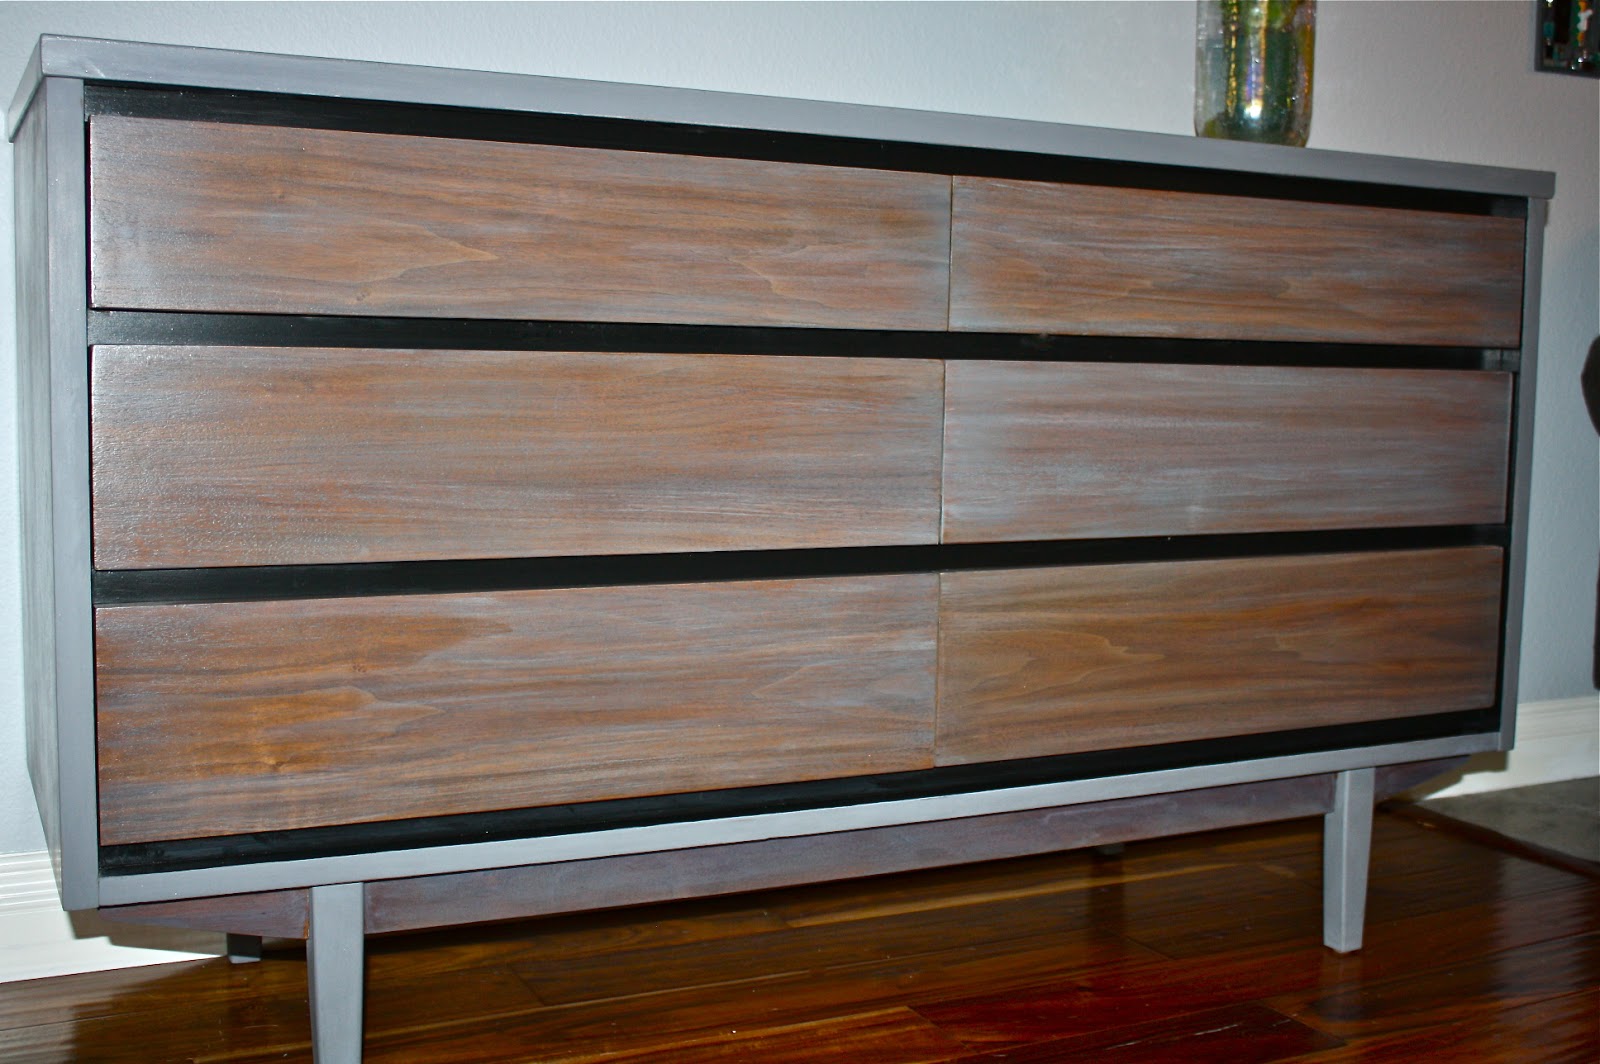
Just another MCM

Trying to do a gray thing with this new piece. Only the drawers are finished.


My little feral friend, The Shop Cat, is always there to keep me company.
She was completely enthralled with the sanding process:
I used a homemade chalkpaint to which I added some silver glittery paint additive things.
From Lowes. It makes it look like a quartz countertop in the right lighting.


A pop of pink on the drawers for fun!
Even tho this was chalk paint, for some reason the wax just didn't buff out well. I used
tung oil on the sides and applied 2 coats of acrylic top coat on top for protection. 


Linking up at my fave parties!! :
Kammys Korner - Trash to Treasure Tuesdays
Domestically Speaking - The Power of Paint Party
The Shabby Creek Cottage - Transformation Thursday
Miss Mustardseed - Furniture Feature Friday
Homespun Happenings - Rustic Restorations Weekend
Funky Junk Interiors - Saturday Night Special
1929 Charmer - Sunday's Best Party
Knick of Time Interiors - Knick of Time Tuesday
                                                   The Dedicated House,-Mon
                                         Redoux


Saturday, August 31, 2013

I'm thinking of a color.........Campaign table anyone????


 Here is my new little feral friend that has been keeping me company while I'm
 out in the garage at night working. His mama brought him around a few months ago for grub. He used to have 3 other siblings. After a few weeks, this is all that's left. ;(  
 My house is surrounded by the highway, hills and lots of coyotes, owls, etc....  Tough life for feral cats. I've tried to catch him, but he's pretty quick. Then it takes me weeks to earn his trust back so that I can barely touch him again.  He's a cute little guy. 
Here is the latest project. A Campaign side table....with a horrendous paint job. 
I'm figuring maybe the three blind mice and Helen Keller were in on this.

 Notice the paint over the brass
accents. I mean seriously??And the handles too. You're too lazy to take out two screws?? 

I used my best stripper...soy gel. Totally no-toxic and cleans up with water. 


 Look at how this just peels right up after 30 mins!! I usually hate stripping furniture, so I rarely buy pieces that are already painted.  But this went fairly quickly.
So, here is the nice African Mahogany veneer after stripping. The drawers were easy but the 
top took a little more work. I hit it with the 80, 150 and 220 grit sandpaper on the sander. 
And this is what I ended up with all sanded. Complete raw wood! If it had been solid, I 
might have left it. But it was all veneer and nothing to leave Earth for.  
So what color????? Hmmmmmmm
    I thought about black. And I know white would sell. But I hate painting with white. 
Soooo boring. 
 Emerald Green???? I used this on another piece and it looked great. I left the legs and drawer fronts because I just think having some of that great wood as a contrast looks good.  If the green doesn't work out, I can always paint over it with black or red or any other dark color.  
                    Whatcha think????  

Monday, August 12, 2013

Empire in Peacock

I picked up this cool empire style dresser in tiger oak and it sat around until I figured out what
to do with it. It barely hits me at my hip. Were people super small 100 years ago or what??
This is a perfect piece for a little person. 
 The wood wasn't in the best condition and I ended up replacing one of the drawer bottoms. Plus, the top is not solid. It's a veneer tiger oak. (Did you know that tiger oak and quarter-sawn is the same?)
Anyhoo, Since it's so low, I thought about doing a cool peacock mosaic on top. I must have a 
bazillion mosaic tiles in every color. 
I used two of my favorite colors of milk paint; peacock and the wonderful turquoise color (labeled as cobalt) from the Real Milk Paint Co. 
I am partial to their paint because it mixes so easily and the colors are beautiful. 
I've tried another make, and I found it to clump way too much. 
I layered on the turquoise first and then painted over that with the peacock. 
Sanding just melds them all together.  And of course the tung-oil just makes the colors
pop! 

Look at how the beautiful the "tiger" shows through! 

Here's a cool close-up of the detail in the corner. I love how milk paint accents the wood.

I thought about replacing the knobs but just painted the originals instead. 
Obviously the far right is the finished one! Tung-oil makes it shine!


Had to stage it with my peacock photograph!


Linking up at my fave parties!! :
Kammys Korner - Trash to Treasure Tuesdays
Domestically Speaking - The Power of Paint Party
The Shabby Creek Cottage - Transformation Thursday
Miss Mustardseed - Furniture Feature Friday
Homespun Happenings - Rustic Restorations Weekend
Funky Junk Interiors - Saturday Night Special
1929 Charmer - Sunday's Best Party
Knick of Time Interiors - Knick of Time Tuesday
Between Naps on the Porch
                                                   The Dedicated House,-Mon
                                         Redoux


Friday, August 9, 2013

Do-Over....

Been working like my hair's on fire. Just a quick little post to show a re-paint of this solid maple side table.  I guess people aren't into peacocks ;)   It sat in my space for a very long time.

So.....Sanded this puppy down and applied a navy latex semi gloss w/gold dipped legs and a new knob


D-U-N