Thursday, July 5, 2012

Campaign Chest re-do!

Up until last month, I wasn't even aware of what campaign furniture was. I swear, I'm always the last one to get on the "trend" train. The first campaign chest I found was a Baker and I got a killer deal. Neither the seller nor myself had a clue of what it was.  I'm only halfway done with that one.  This black one I found off of CL. The seller said she got it at an auction and that it was a prop in a movie.
She had planned on redoing it, but didn't have the time. I paid a little more than I wanted, but these pieces are so hard to come by!   I'd put this piece in the 1930's to '40's range. It was pretty beat up too. Someone had obviously painted it black (or maybe thats how it came).


As I said, the paint was in poor condition, was glossy and I didn't know if it was oil based, so I decided to sand it off.  I didn't take any during pictures. After sanding, I gave it a coat of black chalk paint and fine sanded it so it was nice and smooth.  I knew I wanted some of the black to peek through. I would have loved to give it a coat of a nice glossy deep color, but the wood just wasn't in good enough shape. Glossy paint shows every ding and dent. So, while I wasn't all that keen on giving this piece 
a distressed look, I didn't have much choice. 

I think everyone in blog land has seen the emerald green dresser on google images.
I love the color. 

And I think on these types of pieces, a strong color is the way to go. Somehow, painting this a light pastel or gray just didn't feel right.
This was my inspiration piece. 
My piece is older and smaller, but I think I nailed the same color green. 

 I made my own chalk paint again. Some Behr color that I got in a sample pot was just enough for the entire piece.  I did a lot of fine sanding in between and after the final coat. 
    I used a burnishing paste and then went over that with both a dark and light wax. 
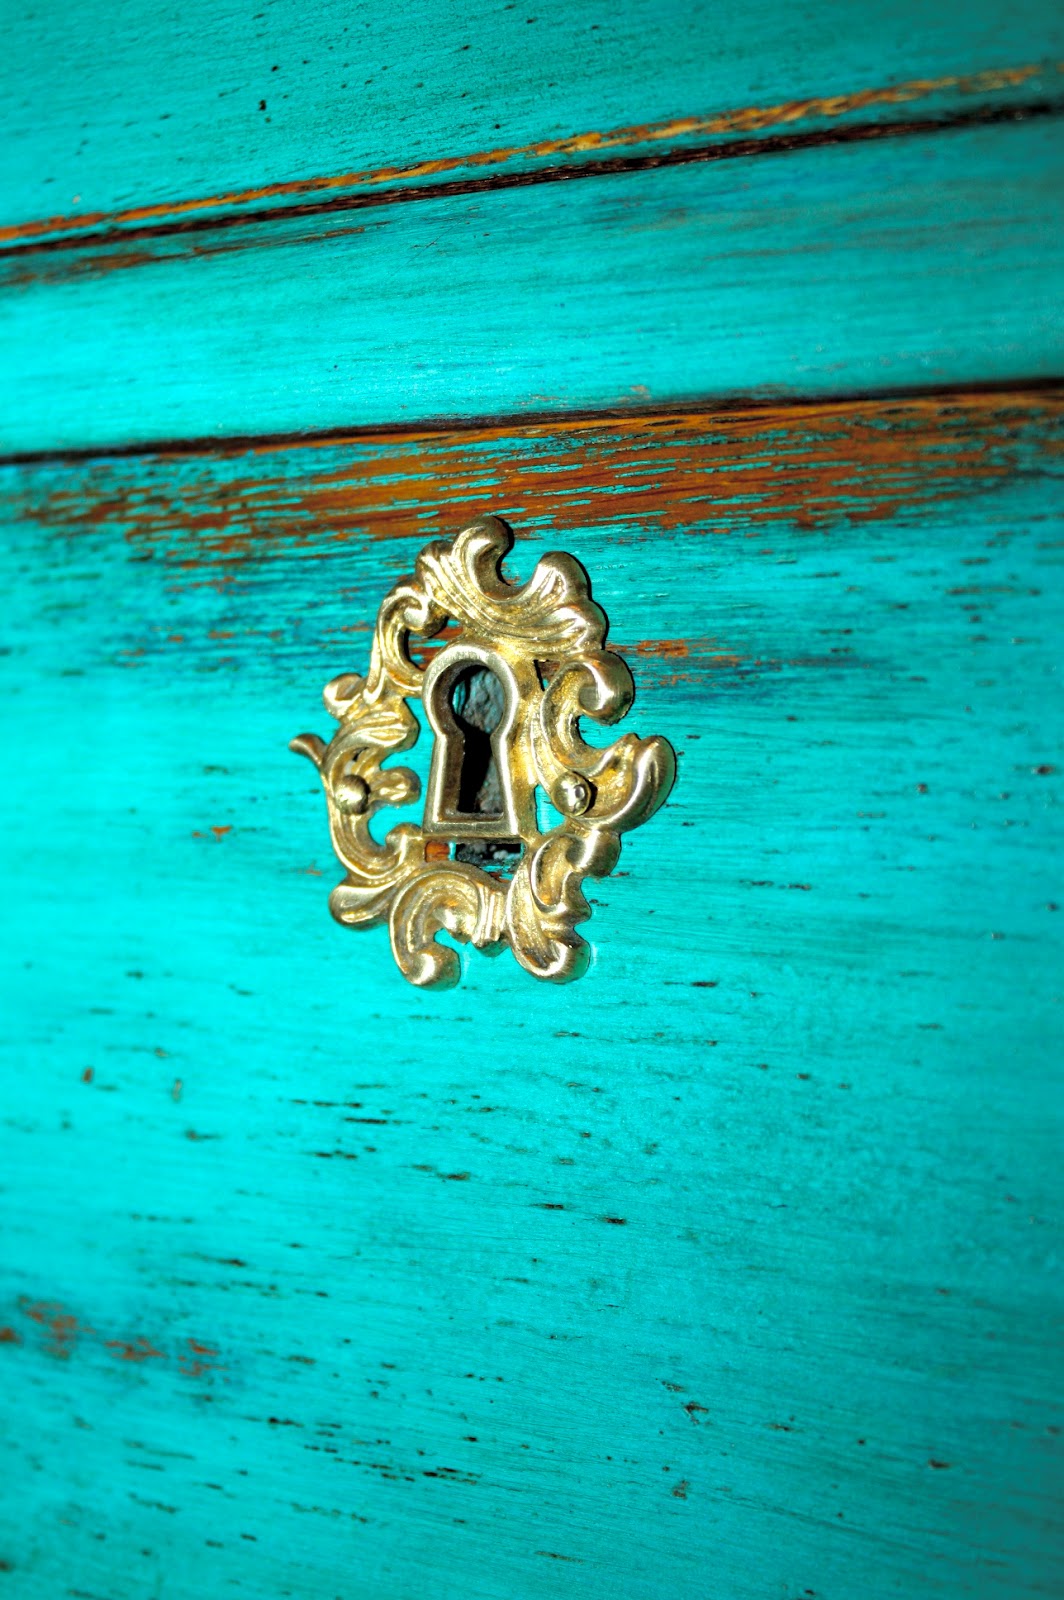
         The hardware took forever and a day to polish! 

 I have no place in my house to stage this piece. Maybe I'll try lugging it outside. Ideally, I see this piece
in a somewhat modern type house. Maybe used in an entry way. I think it would make a killer bathroom vanity as well.  

                                                The flash just wipes out the color and detail.

 The other keyhole cover was missing. :(

I used my fave peacock fabric to line the drawer and bottom shelf. I love all the colors in this
fabric! If I could, I would do my whole house in them!


I forgot I had my beautiful peacock photograph in the other room! I thought the greens in the photo
would go perfectly w/the chest. I can't get enough of blues and greens! Too bad the color
of the wall in the photo is so yech! It really isn't that bad in person. I would definitely paint the room around this chest if I was going to keep it! 


Linking up at all my fave parties listed at the bottom, plus:
"Transformation Thursday at the Shabby Chic Cottage"

Wednesday, June 6, 2012

Another Gem Colored Milk Paint Dresser!

I just can't get enough of the stunning colors from the Real Milk Paint Co. !
Last dresser re-do it was a bold cobalt/ultra-marine blue.  This time I'm going
TURQUOISE.  
But first, let me tell you about this score on this dresser.

 Not too bad.  It was obviously a well made piece. Nice type of mahogany. It was in pretty good shape.
The gentleman I bought it from (CL) was one of those storage war people.  Although, he 
said he got this from his uncle who had passed.  He wanted 85 for it. We agreed on $60. 
Had no idea what a score I was about to discover. 

I have never seen handles like this before. I took a quick glance at them and thought 
they were unique. Even the escutcheons were beautiful. Of course he didn't have the key. 
Does anyone ever have the key????

Anyway, got the beauty home and started my work. The handles were nice and hefty. Got out the 
Brasso and started to see how they would shine up. 
Hello!!!! Holy-Solid-Cast-Brass Batman!
Yes. Solid. No plating. I know you know how much solid brass handles cost. 
10 handles and 5 escutcheons.  You do the math.....uh-huh......Scoresville! 


Here's hubs shining the booty up on the polisher.

Want to see what they look like on the finished piece??
Like gold jewelry on a gorgeous gown....check out my Turquoise Baby!!!


I just love this color! I had planned on selling this one. But after seeing how great this color turned
out, and of course this awesome hardware, I think I'm keeping this guy. 


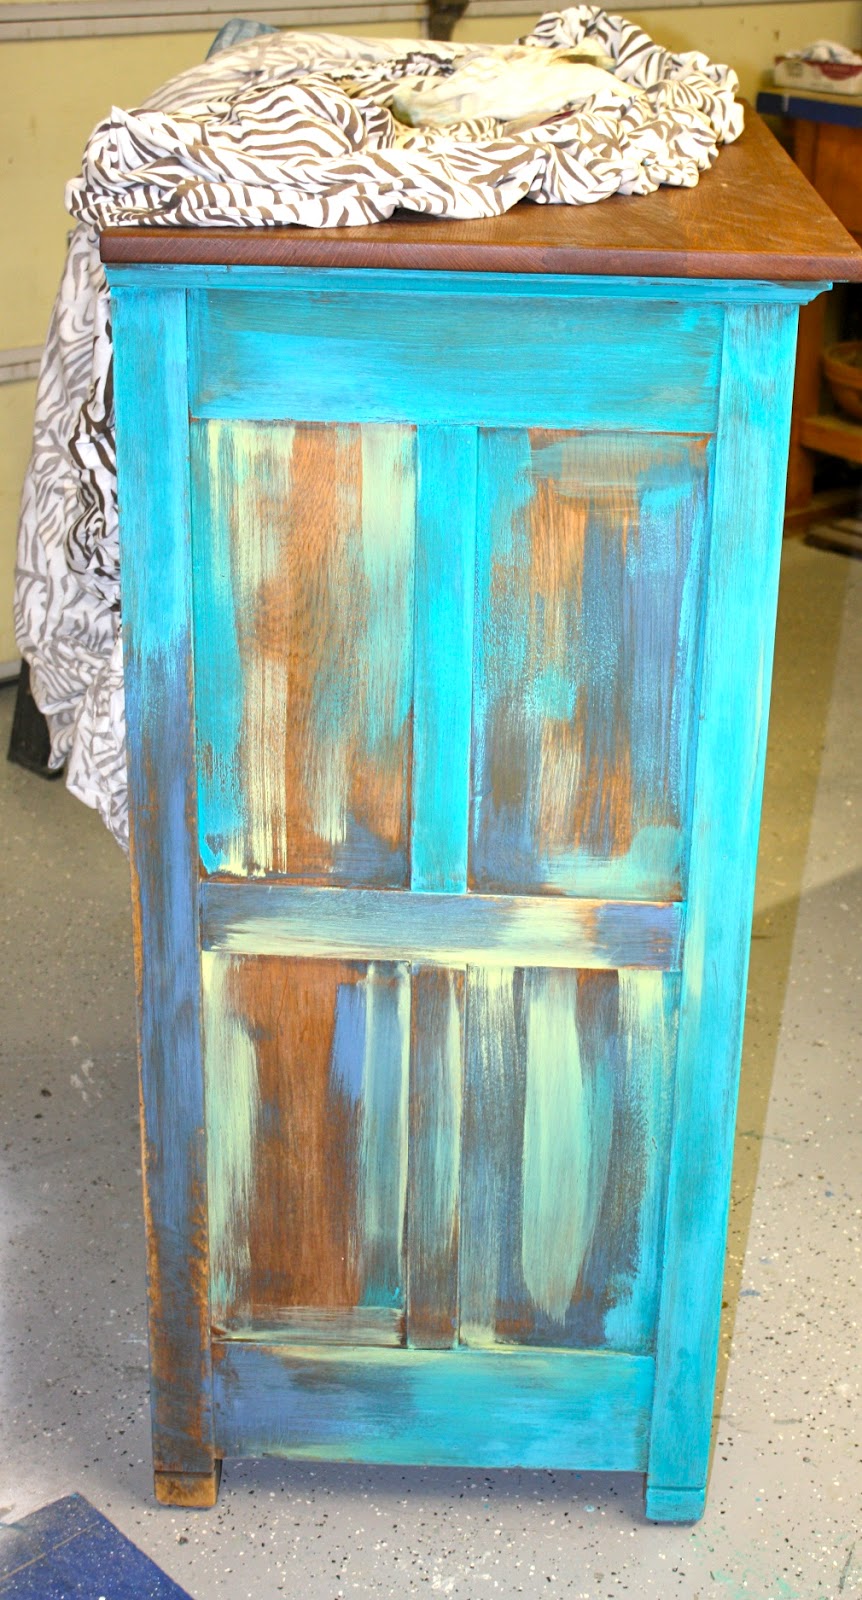
 So I actually used the one marked cobalt blue. However, the rep said that they had an error listing the names, as I told him this color was no where near cobalt. So I really don't know what color this is. The one labeled turquoise is more of a teal. The company was nice enough and sent me two other colors (Peacock and Black) and a jar of their burnishing paste.  It's a matte acrylic topcoat. Sort of like using wax on top of chalk paint.

This totally looks like Bo-bo the clown's dresser. 
After layering on the milk paint.
Once I start sanding, the other colors
will peek thru. 


This shows how I layered on two other colors of chalk paint before painting over the whole
thing with the milk paint.  Milk paint works best on completely bare wood. It went over the chalk paint with no problems.


 It was a paint-fest!!   I have serious issues.  While doing the dresser, I also tried out my milk paint on the new campaign dresser I picked up. Yes..a Baker Campaign dresser. For the paltry sum of $15.00!!! Don't Hate!    I will talk about that painting fiasco in my next post.....Sheesh....                               


                              To bring out the depth in the color, I used a dark wax over all of the paint. 
I hate waxing. It took quite awhile and I couldn't move the next morning. 

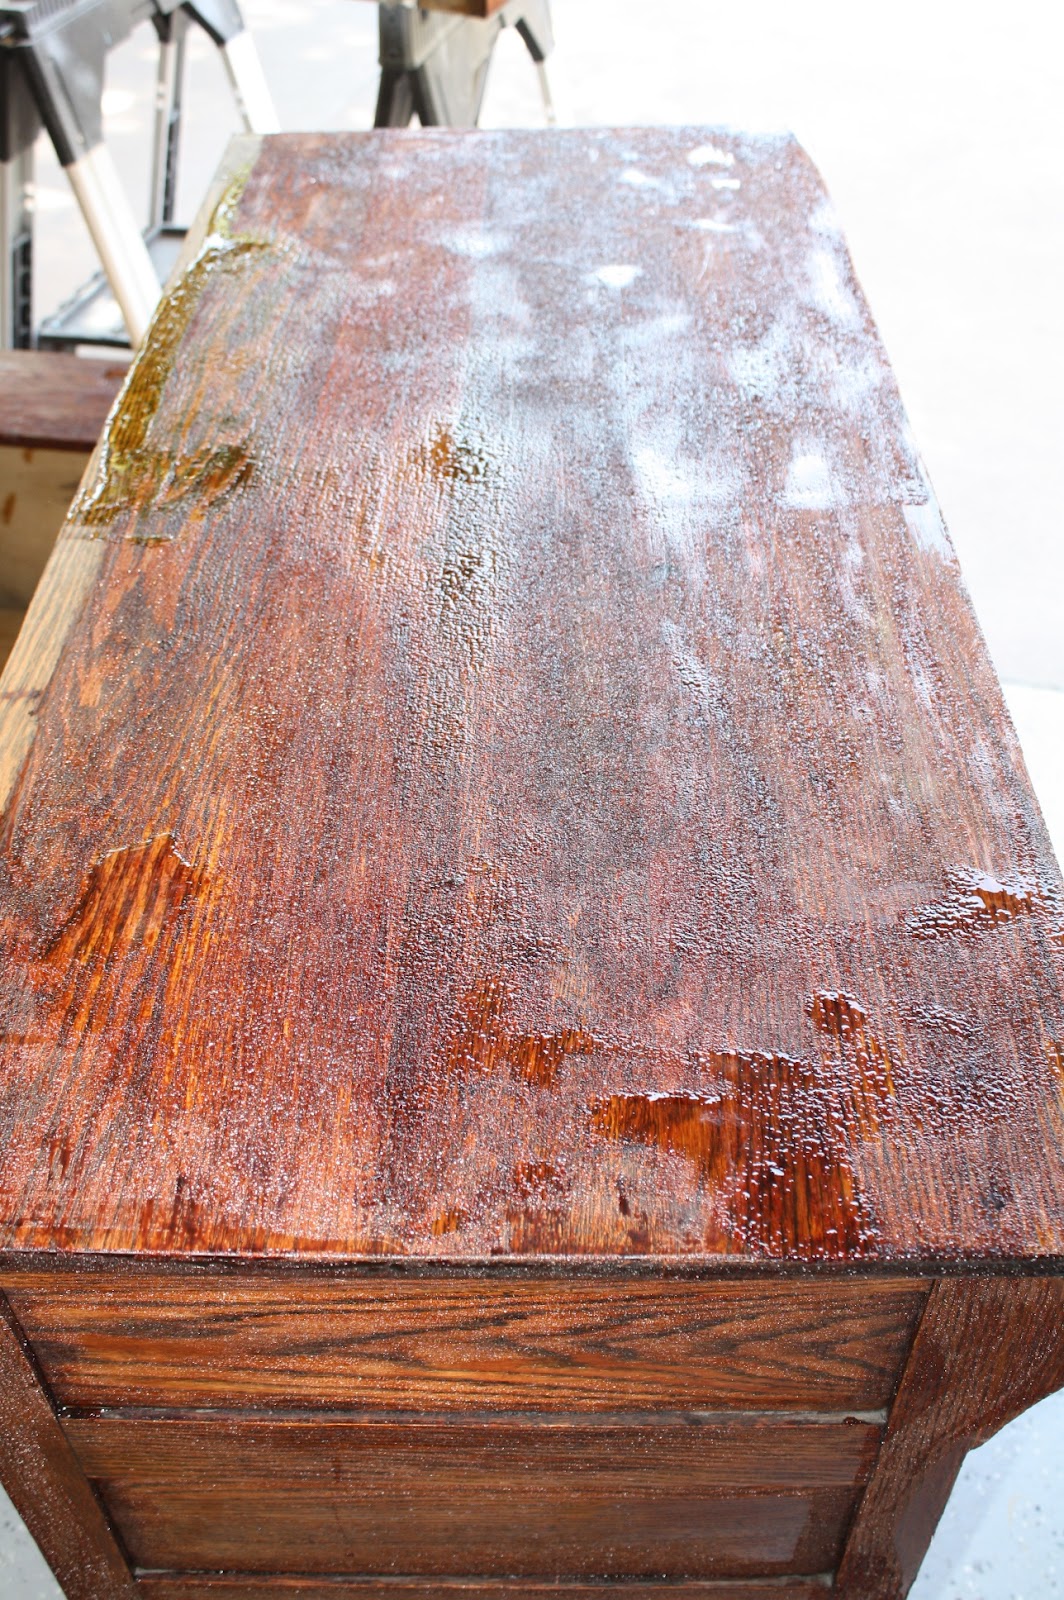
For the wood top. I sanded and used a mixture of stains.
All the wood got coated with Tung Oil that I got from Real Milk Paint Co. 
You can read about the oil on my last post on the bold blue dresser. 


And here is a pic of it inside my living room. 
I just kind of threw it in there,,,,haven't really had a chance to decorate around it. 
I think it's time to repaint the room. I'm so not looking forward to that. 
It's not a bad color, i'm just tired of it. 


                                                          One last look at the pretty jewelry!!


Linking up to all my faves below, plus: theshabbycreekcottage.com

and thanks to: "From my Front Porch to Yours" for the feature!

Monday, June 4, 2012

Beachy Subway Art and Beachy Dresser

So it was a pretty good day for sales last week.  Since I don't have a store, I list my items for sale 
on Craigslist. I've actually done quite well. It might take a few weeks, but most everything sells. 
I got a call from a lady who wanted my "Crack-house" dresser #2 and the little nautical table. 
When she came over to pick them up, she mentioned she needed another dresser for her sons room.
 I had this sitting in the garage awaiting my attention:

Here's what it looked like when I got it. (Sorry, I took these photos after the stripper had been applied)
The gloppy drip was there before I started. Some people should be forbidden to apply stain to wood. 
I hate stripping furniture worse than root canals. Seriously. 
This fun activity took about, oh, 4-5 hours. The mirror took most of that time. Horrendous. 
I used my soy gel stripper. I raved about it on my "Frenchy Dresser" post. If you strip, then you 
must get some of this. It's totally non-toxic (I don't even wear gloves) and cleans up easily with water.
And it works like nobody's business!! Trust me, you will never use anything else again. 


This piece was pretty darn messed up. The finish was hideous, the original handles and keyhole plates were MIA, the drawers barely slid open and the bottoms were almost rotted away. 
What sold me on the piece was the mirror. It was some gorgeous wood-work. And the beveled glass was beautiful. I knew I could work my magic on this piece. 

And apparently, so did Tori.  She saw it sitting there and asked if I could make it look "Beachy". 
She wanted it blue with some white and yellow and distressed. 
Cool.  I hadn't done anything like that before so I told her I'm in! 


But first, a little help from Hubs,,,,,and Judy. How cute is this dog?? Mean Pit Bull??? Don't believe
it. She loves everyone. This is the best dog I have ever owned. 
After he fixed all the necessary structural issues, I got busy.  

I didn't have time to stage this gal in a vignette,,,so the garage photos will have to suffice. 
Please don't shake your head at my crap filled garage,,,,it is my work shop! 

She wanted white worked into the wood.  I used ASCP Pure White on top, the mirror accents and on the body.


Forgive the quality. The light wasn't great and the garage floor gives off a blue tint in the photos.

 The blue is my homemade chalk paint. I used MS "Mariner".

 These top two drawers were not in the best of shape, so I lined them with fabric.  All the sides of the drawers got painted.  I think it just finishes the piece. Sometime you have to pay extra attention to the details.


In the interim of working on this dresser, I started on some subway art. 
Yeah, yeah,,,I'm only a year too late.  WELL, i didn't get the memo!
And it appears as if I'm the only one without a cricut or some other machine to make the lettering.
Hey! I'm old, and I do it old school!  


I had some fence lumber sitting around, so Hub cut it and attached them from behind. After a quick sanding, I mixed up 4 different colors and painted them on my "canvas". 
Got my 2" and 3" letter stencils, and printed out the names of local Southern Calif beaches. 
I just eyeballed everything. I traced out the stencil in pencil and them went back over them 
by hand, painting each letter, using my homemade gray chalk paint. 

Hey, I'm in fron the camera for a change! 


And here's what I ended up with:


 I love how this came out! I was so surprised! 
It did take many hours between penciling the words and then 
going back and painting them. 
 I'm aware of the vinyl reverse stencil method, but I didn't have the materials. 
And I didn't want to wait. When I get an idea in my head, I just do it. 

So, I had this sitting in the garage when Tori came by this afternoon to pick up her dresser.
She and her friend commented on how cute it was. My husband blurted out, "It's for sale!" LOL
She asked how much, I told her, and she said, "I'll take that too!"  She ended up with four of my items!
                                                             It was a very good day!


I will definitely be making more of these puppies!