So I'm finally getting around to blogging! Finally finished one piece (I'm working on, like, 10).
This great little hutch I picked up is made from walnut and walnut veneers. It's a quality piece. Normally you don't see a lot of walnut because it's a higher end wood.

It wasn't in bad shape, just severely outdated. Those flowery things had to go! See the solid brass (which I didn't even know was solid brass until hub put them on the polisher) pulls? They cleaned up beautifully. Here is a quick after photo. I'll explain the how-to as we go.

There were two shelves that I stripped and refinished. The right one has my soy gel stripper on it. I rave about this stuff because it's completely natural and no chemicals! Rinses off with water. Why use stuff that's bad for your skin, respiratory system and water run-off?? Trust me, this works just as well as CitriStrip and all those other chemical strips. It is pricier but it cleans up with water and plain old rags. To me, that's worth the extra bucks right there!
SoyGel by Farnham available on Amazon. (No I'm not paid)


I also stripped the top. Now, some people ask, "why can't you just sand off the old finish? Why use a stripper??" Well you can sand, however, the old finish is inside the wood grain. When you sand, you are merely removing the old finish from the top surface. The sander can't get down into the minute grooves of the wood. So, your new finish can't get down into the grain and you get an uneven, poor stained piece of wood. That's why.

The inside wasn't bad. I only gave it a fine sanding and wiped on a dark walnut gel stain to perk it up. Go easy when you scrape so as not remove the wood. Clean up all the gunk and wipe it clean. Let it
dry before you start sanding. If it's a veneer, go easy around the edges. This one did not need a lot of aggressive sanding. Just a quick 150 or 180 grit and it's good to go for stain. Remember when using varying grits, graduate slowly. You can't jump from a 60 grit to a 220. 60, 100, 150, 220....Or something along those lines. Do not do a fine sanding before staining, i.e. 320 grit. Sometimes you can "burnish" the wood, or close off the pores, with a very fine sanding and your stain can't penetrate. 150-180 if fine before applying the stain. Applying more than one coat is useless. All you are doing is applying stain upon stain. If you want darker, get a darker color. The first coat is all that's going to get absorbed. Gels go deeper than wipe on stains. Anniline dyes go deeper than gels. I like gels.
I ended up painting the back portion a pale yellow since all the darkness just made everything disappear. I did keep the sides and the rails natural.

After the gel stain, the top and shelves got 2 coats of GF Arm r Seal wipe on Urethane.
I never use Poly. I like GF products, especially this wipe-on oil based urethane.

Onto the color. I didn't want to sand everything, so I gave a coat of ASCP first. Then I made my own chalk paint using different colors and paint. I have some GF paint in Patina Green down there and some other colors I threw together. I think the main color was BM "Azure Blue" that I mixed with some plaster of Paris.

I just noticed the photo bomb by my dogs nose!
Here's a good shot of the hardware. I swear it was black and gunky! Polishing wheel!!


I love the way the paint distresses around turned legs. I used some burnishing paste and both clear and dark waxes. I also used a tiny bit of gold gilding wax to highlight some of these wood parts.


Apparently I have extremely nosy animals.

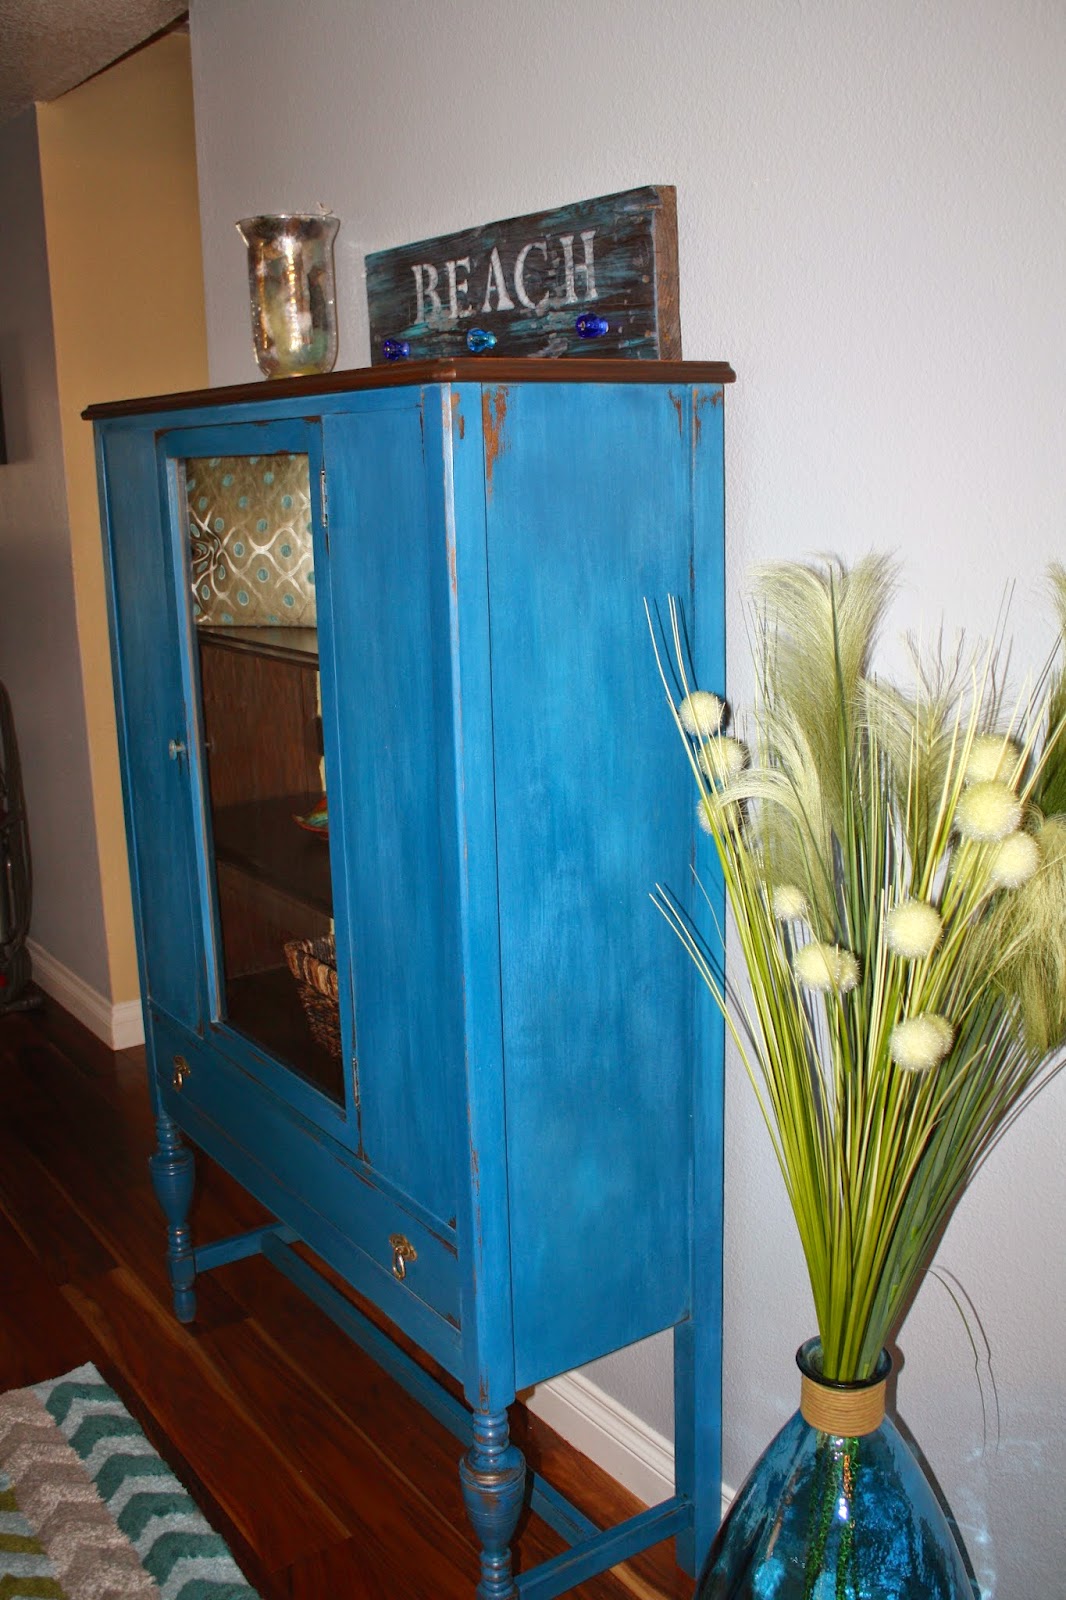
Notice the wavy glass on the door?? That's the kind of glass they used in the old days!

I made that Beach sign awhile back using reclaimed fruit crate wood, milk paint, and crystal knobs.
So I think I've used up my allotment of photos for one post!

Domestically Speaking - The Power of Paint Party DIY Vintage Chic-Friday
Tuesday-Elizabeth and Co., My uncommon Slice of Suburbia,
I really love it! That true french country blue has always been one of my all time favorite colors!
ReplyDelete