Thursday, March 12, 2015

An Urban Bronze MCM Stanley

Wow. Look at me go. Two posts in 3 days!  Clearing out the garage baby. 
 This mid century Stanley dresser has been sitting idle for months. I just couldn't decide what to do with it. After stripping the top (the wood is meh) and the drawers, I had to decide to paint the whole thing or just give it a two-tone look.  I really liked the burled wood on the drawer ends. So I decided to keep those intact. The middle ones were walnut veneer so I redid those as well.

This is what I saw and looked at for months. I even reached out to Martha Leone since she always comes up with some killer ideas for her pieces. She suggested leave those wood parts I had talked about and paint the rest. Just keep it simple. I had to agree with that. 
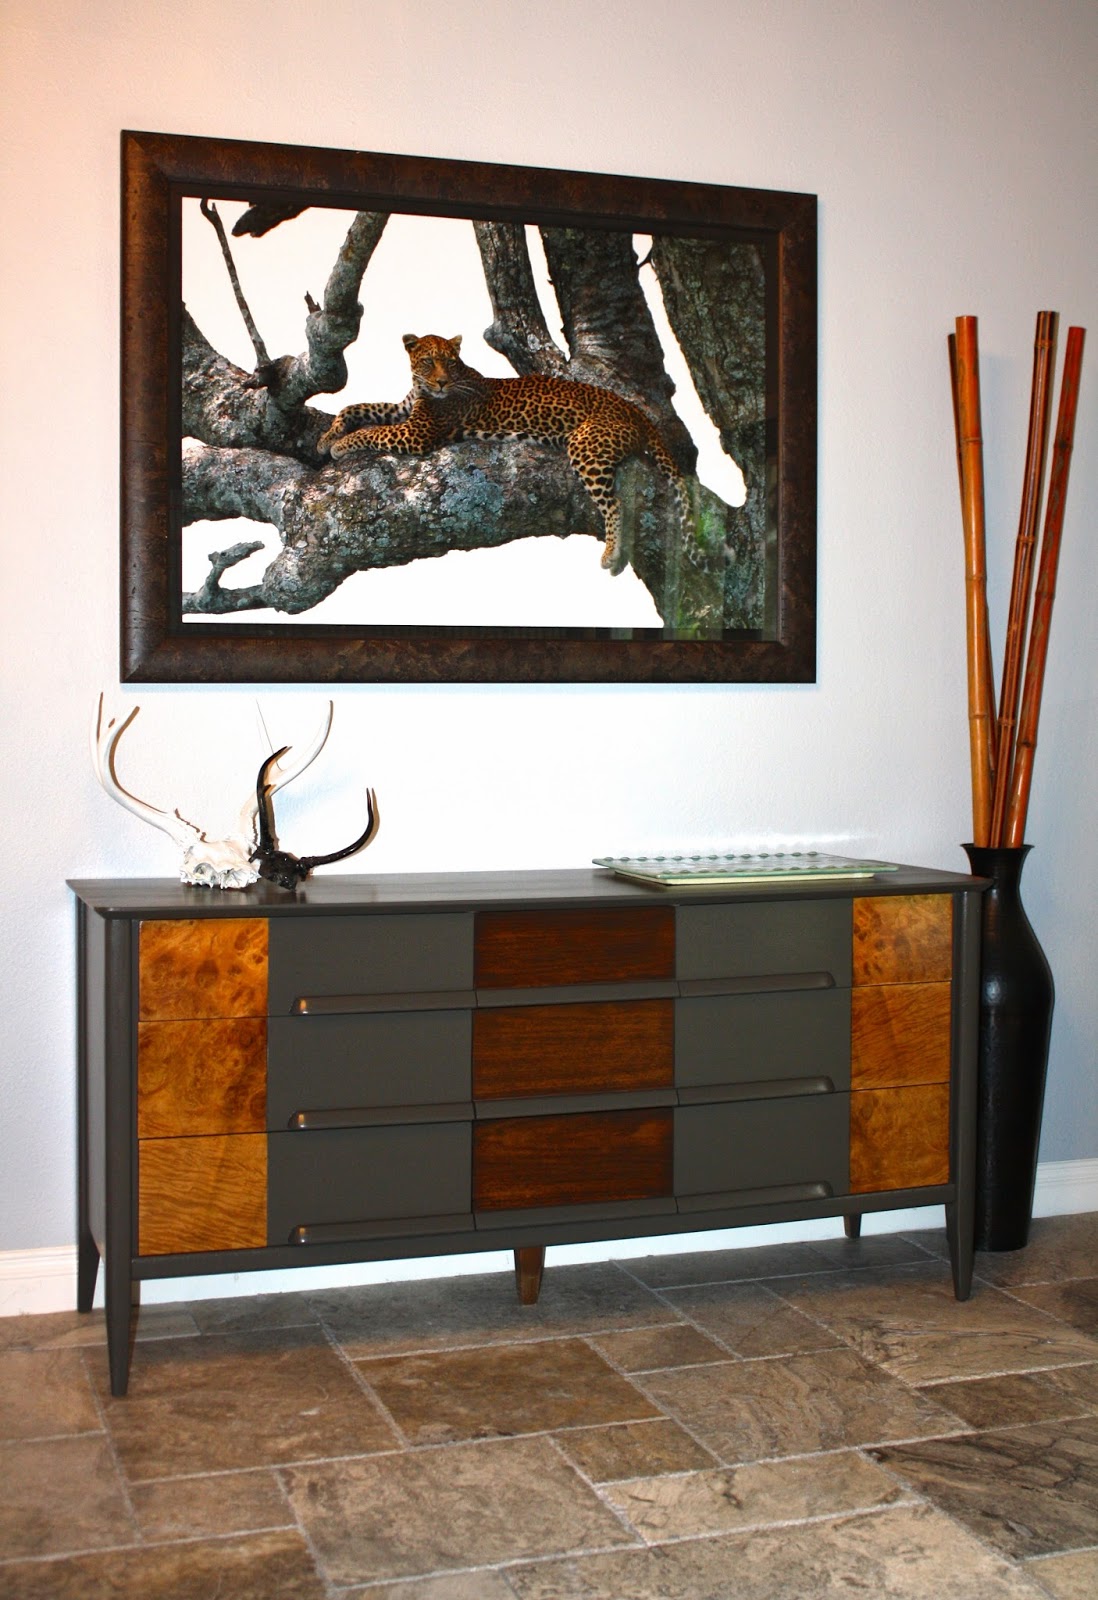
 So here's how we ended up! 

SW Urban Bronze in a semi-gloss. I tried it in the Emerald line. Love painting with that! I think it's just as good as the Pro-Classic line and BM Advance. Goes on super smooth. 
I left the burled parts natural. Just sealed with shellac and a few coats of Arm r Seal 
Isn't this wood cool? Why on earth did the manufacturer use this wood and then cover it up?? 
 When I redo my dressers, I take great care in doing the entire thing. I sand down the drawers inside and outside. This is really nice wood. So I take time to make it smooth and seal it with shellac.
 What does one do when one spills paint inside of the drawer??!! Improvise. I wasn't going to paint the drawer bottoms because the wood was pristine. But I spilled half a can of paint on it! So, I had to paint the left drawer bottom too so it would match! Wasn't about to paint all NINE drawer bottoms!


Mama looks rather comfy.  
I painted this top about 4 times and sanded down every time. I brushed and rolled. 


Monday, March 9, 2015

The Walnut Hutch and a quick How-To for a refinish

So I'm finally getting around to blogging! Finally finished one piece (I'm working on, like, 10).
This great little hutch I picked up is made from walnut and walnut veneers. It's a quality piece. Normally you don't see a lot of walnut because it's a higher end wood.
 It wasn't in bad shape, just severely outdated. Those flowery things had to go! See the solid brass (which I didn't even know was solid brass until hub put them on the polisher) pulls? They cleaned up beautifully.  Here is a quick after photo. I'll explain the how-to as we go. 

There were two shelves that I stripped and refinished. The right one has my soy gel stripper on it. I rave about this stuff because it's completely natural and no chemicals! Rinses off with water. Why use stuff that's bad for your skin, respiratory system and water run-off?? Trust me, this works just as well as CitriStrip and all those other chemical strips. It is pricier but it cleans up with water and plain old rags.  To me, that's worth the extra bucks right there! 
                          SoyGel by Farnham available on Amazon. (No I'm not paid)

I also stripped the top. Now, some people ask, "why can't you just sand off the old finish? Why use a stripper??"  Well you can sand, however, the old finish is inside the wood grain. When you sand, you are merely removing the old finish from the top surface. The sander can't get down into the minute grooves of the wood. So, your new finish can't get down into the grain and you get an uneven, poor stained piece of wood.  That's why. 

The inside wasn't bad. I only gave it a fine sanding and wiped on a dark walnut gel stain to perk it up. Go easy when you scrape so as not remove the wood. Clean up all the gunk and wipe it clean.  Let it