Friday, November 28, 2014

The Elusive Card Catalogs and How I Repurposed Mine!

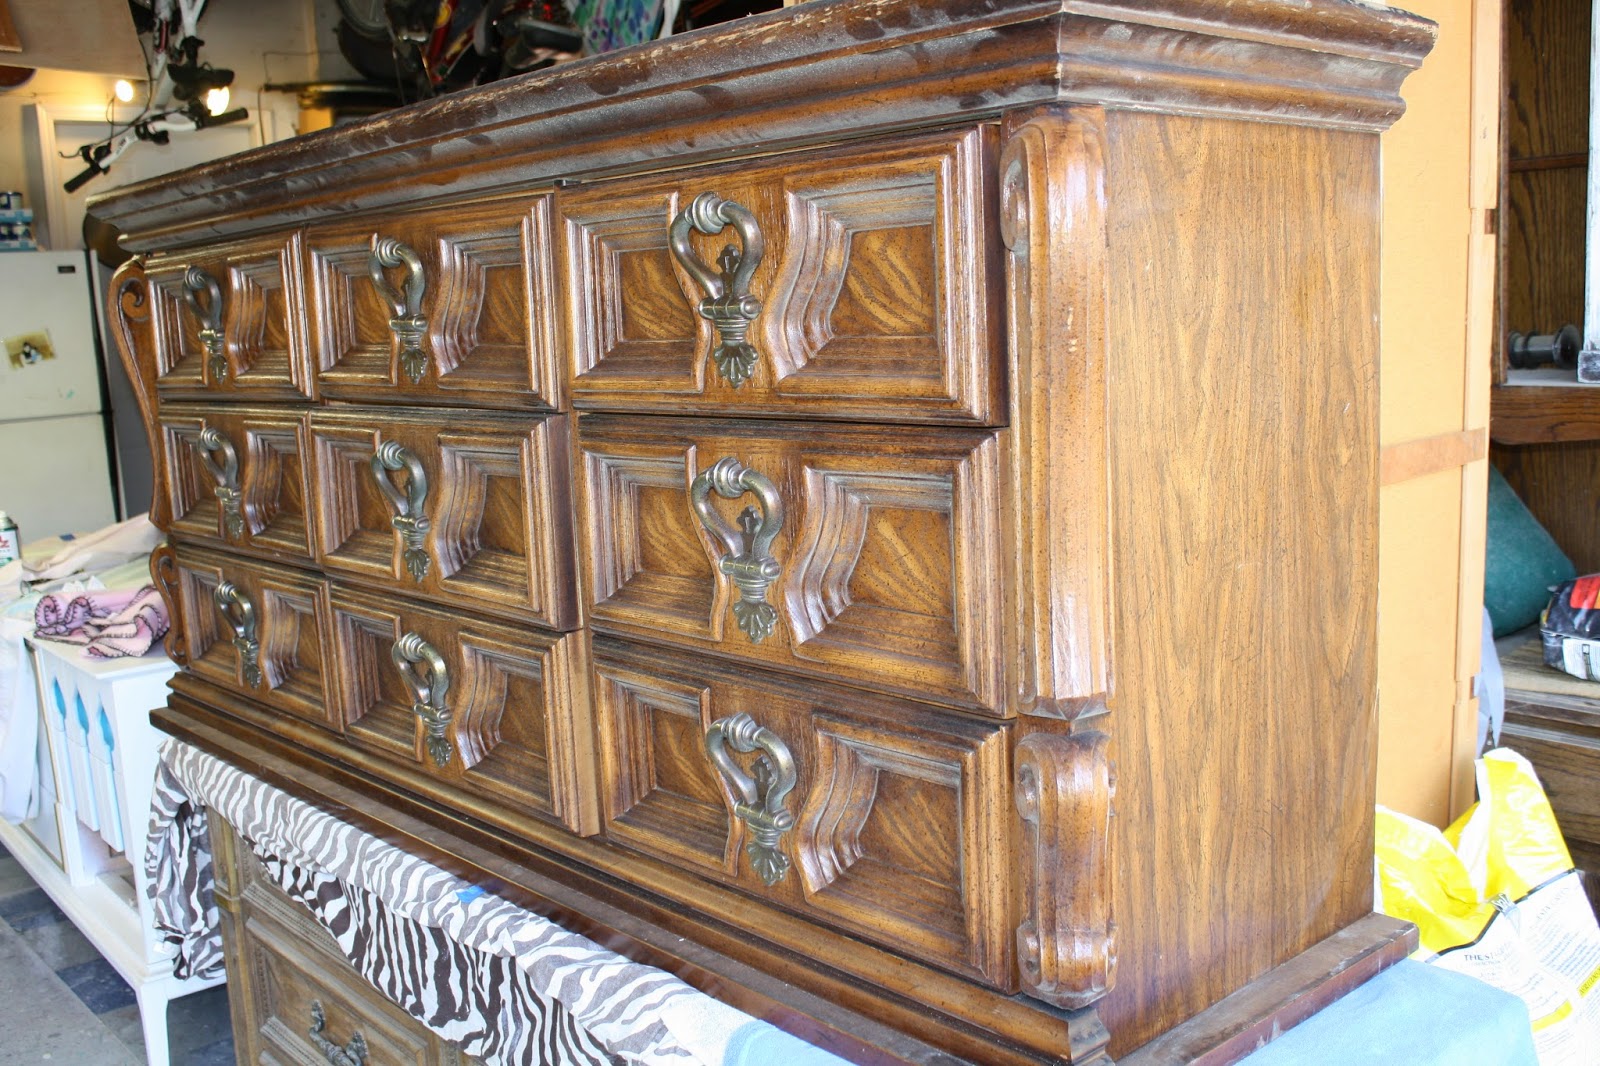
Ah the rare and oh-so-hard-to-come-by card catalog! Even when you can find them, they will cost you a pretty penny! I did manage to score these two (they actually fit on top of one another) for what I thought was a pretty good deal. Almost two for the price of one! These came from Los Angeles Trade Tech College and are made of solid oak.  Stick with me as I give you a little tutorial on how I turned one of these into something very unique and one-of-a-kind finish! 
Since my plan was to redo them and sell them, I would make more money by splitting them up and selling as two separate pieces. I thought about putting them side by side, like a buffet, but that would have been a pretty hefty price. Not sure I would have been able to unload it. 
I decided to do the one above and make a custom top using oak strips in a herringbone pattern.
Yes, very labor intensive. I've documented the process in the following pics, but I can tell you it was about two weeks worth of work. 
First up is to take this beauty apart and strip her down! 
I had to use a razor to get off the taped numbers. 
Soy Gel stripper took care of the old finish which was then scraped off with a plastic putty knife. (In my joy of doing this process, I guess I forgot to snap pics  ;) 
I found an extra board that was the right size to fit in the middle while the stain on the body was drying.  I used some sort of walnut shade. I also had the other half make a frame to go around the top out of the same oak I was going to use for the pieces. 
The frame has to be square! I'm not the best at that so had him help out! Use a finishing nail gun to attach it to the body.  Fill in the holes, sand and stain.  Before you start with your Jenga pieces, find your center up and across and start your first piece there. Make sure you come up even on both sides. I should have started a little more to the left.
 I went to the lumberyard and bought some white oak planks and ripped them down into 1" widths. Then I determined what size I wanted the herringbone and cut them into 5" lengths. If you missed my post on my sons headboard/art wood piece where I did pretty much the same thing, you can see that HERE.  As for the herringbone pattern, the process is the same that we did for the herringbone ceiling in my living room,,,,HERE.  So, first thing to remember is all of your pieces have to be identical. Make a jig when you cut these. If not, it will throw off your pattern! As it was, these boards are not perfectly straight. Some were bowed and it does cause  some problems when lining up your pieces.

You will get some gaps. I take care of this later. 
               Math is important here! For some reason my ends came out differently even though
               I started dead center and worked outward. It was probably because when I laid my
                                                         first piece, I was over the line. 
 Not a huge deal. It just made cutting those little triangle pieces a little more challenging.
Thanks dear. (didn't want to lose a finger. I let him do the small ones.) 
 After everything was laid, I went over it with the sander a few times. Save your sawdust from the cuttings! They come in handy to fill those gaps I was talking about. I brushed them in and made sure they were filled as best as I could. I also used wood filler. Then I sanded very lightly by hand.
Up close you can see the shavings embedded in the gaps. Don't use wood glue to make them stick! Wood glue does not like stain and you will get uneven white spots! I used about 2 cups of shavings. press them in the gaps and use wood filler here and there. Be careful when using a sander after you do this as it will suck out most of your shavings! Just do a finishing sanding after the shavings.
 Voila! Wiped it down with mineral spirits to clean up everything prior to staining. 
The wood grain really pops after the stain! 
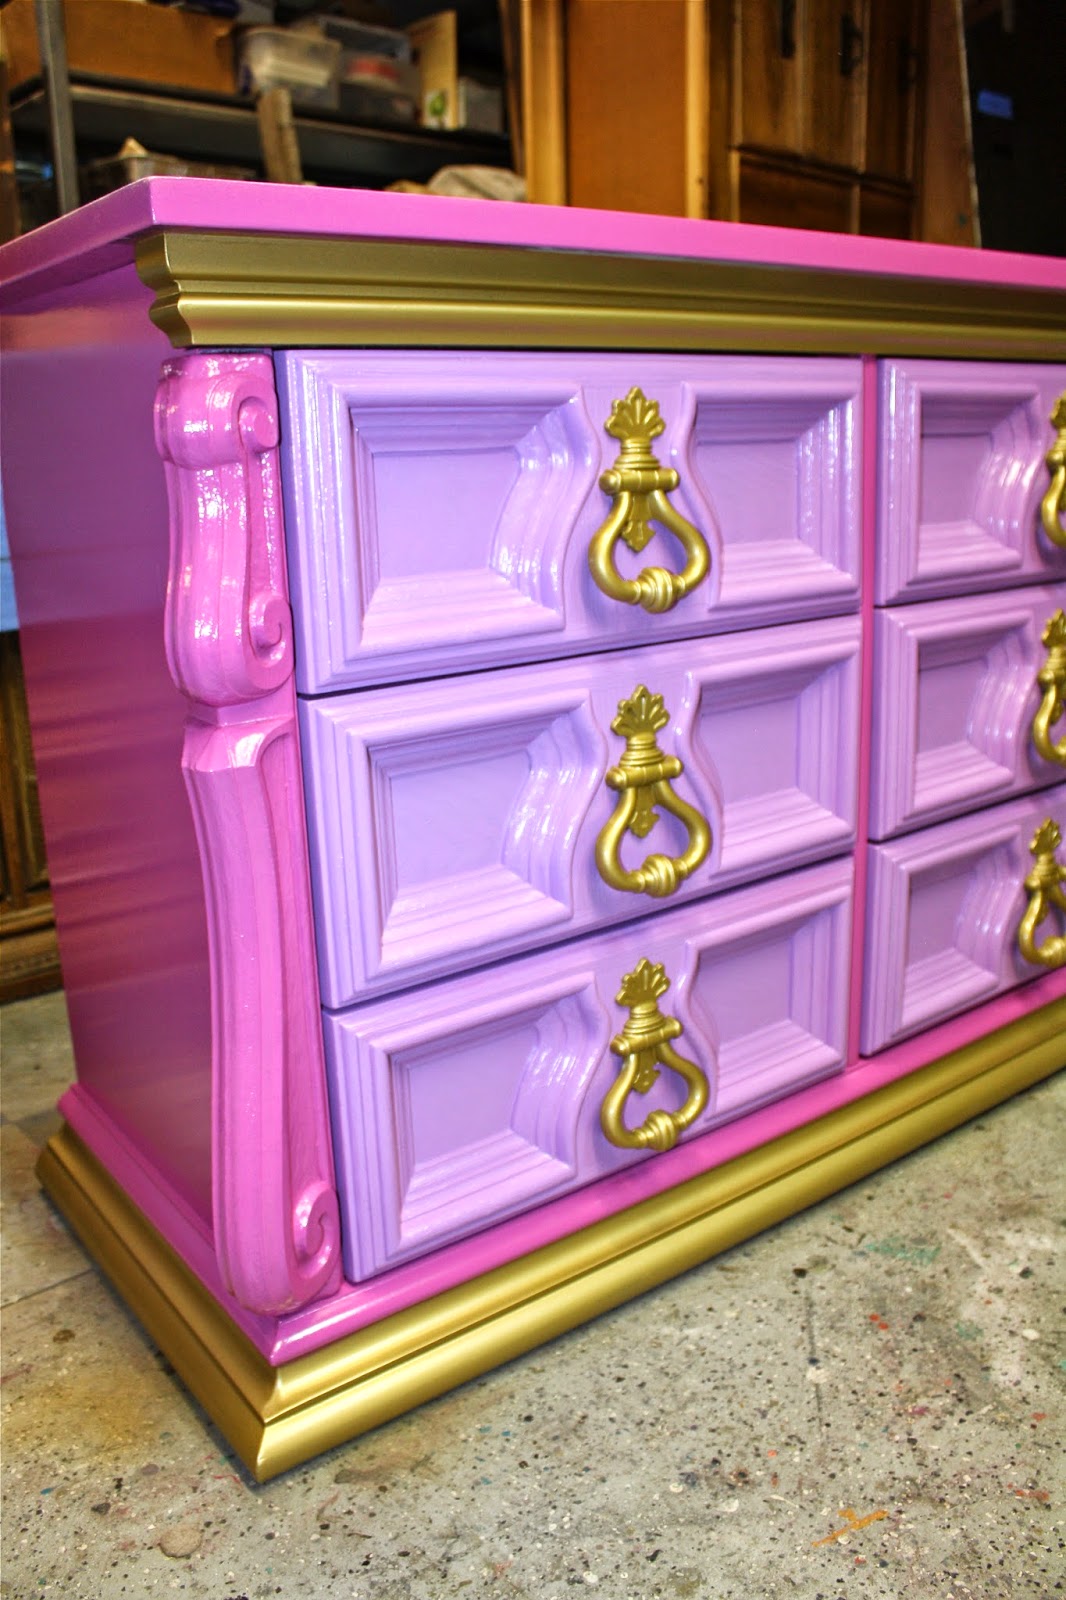
 Couple of coats of GF Urethane and brass polish and elbow grease on the hardware!  


 And properly staged after adding some hairpin legs:


 Wine bar anyone???! 
*****UPDATE****
An old friend of mine saw this and immediately wanted to buy it.
However, she is tiny! Only 4'11. Barely ;)   So I traded in the legs above and
 exchanged them for the 20" hairpins below. Now she can gaze down upon the beautiful top!
Sorry for the garage photo. Wasn't lugging this inside to stage again!
 And I fixed that middle-right drawer. The other pictures highlighted a staining/sanding flaw that just drove me crazy! So I stripped off the finish and redid it. Much better!

Domestically Speaking - The Power of Paint Party   DIY Vintage Chic-Friday

Saturday, November 22, 2014

Mahogany Empire in Kelly Green Milk Paint

A friend of mine brought me this old, beat up small dresser to see if there was anything I could do with it.  He had visions of restoring, but I think it was just too much for him. This little dresser was literally falling apart.  Everywhere. Besides all the peeling veneer, the body needed to be secured, the drawers needed glue, Some parts had to be nailed, the casters needed serious cleaning and smoothing up to get them to roll properly, sigh. The list goes on and on. 
  Peeling veneer on the left drawer.  I just removed it all. The larger drawer got a lot of glue.

          Everything got sanded and re-stained because I wanted the darker wood to show
through. The left drawer is the wood that was underneath the veneer that I peeled off. The right was ok.I didn't bother to do a perfect full sanding and staining since only the edges were going to show.
I love doing milk paint on these older bare wood pieces.
There were only two original knobs so I had to go to my stash.
I'm still debating if I like these lighter green glass knobs. 
( Doesn't it look cool with my fern and my pink roses??!) 
 After the milk paint, I applied a generous amount of natural tung oil. It soaked it up like a sponge and still looked rather dull.  I applied another coating and then took the picture. If you see some dry spots on the pics, those are the places I missed. 
The insides of the drawers were horrid! I sanded all of them, inside and out. Sealed with shellac and then painted with GF milk paint in"Patina".  They look good as new. 
 On some areas I went over the bare wood with GF paint first. See how cool the wood looks when distressed?? Thats why I stained it again even though I was painting over it.  
I also did some gluing to the veneer on the top. You can't even tell can you???!


I think this one would look so cool as a bathroom vanity in a period-style house. One with the black and white hex tiles? This piece is rather short, so a taller vessel sink could be added on top to finish it off. This is also a perfect height to attach a changing pad/area ensemble on top.


Saturday, November 1, 2014

Pink and Orchid!

I was contacted by a customer who saw my work and asked if I could paint one of the 
dressers I had in my inventory. I had just started painting it in a radiant orchid color.
She said, " I want something very pink with gold accents."  Perfect! I didn't have to repaint. 
This was one of those 70's style dressers that look so cool in bright colors. 
Thank goodness. Because bright is what she wanted and got! 
Yes it is upside down. I was way overstocked!
 And here is the finished product with the colors she wanted. Radiant orchid on the drawers, a custom mix of Gypsy Pink and Orchid on the body, and metallic gold on the handles and accents. Yes I realize it isn't for everyone.  But she has a very specific taste and wanted something bold and beautiful. It's going against a raspberry colored wall. She also has a pink velvet chaise with lots of gold. I think this will fit right in! 
Everything got one coat before I sprayed the gold. (BTW, I hand painted this entire thing)
When she asked me for the gold, I thought I would use a mixture of MM gold with some of the pink. Kind of like getting a very faint glittery gold. Not so "In your face". Well, the customer didn't want mild. She wanted a clear delineation of gold and pink. Ok. Will do. 
 The top and bottom parts were taped off and sprayed twice. It did come out rather nicely!
 Before she even contacted me, I had already started to paint the drawer sides in
"Evening Plum" by General Finishes. I love their milk paint!
Luckily it coordinated with the other colors. 
 Too bad I had sprayed the handles silver before she called and wanted gold. Just more work. 
Regardless of whether or not you like the colors, everyone has there own idea of what they like.
I think the dresser turned out very pretty.  If I had a little girl, I think it would look fab in her room. These styles of dressers just call out for bold paint jobs. A gray chalk paint just would not do anything for this piece. Just like these colors would look silly on an antique mahogany tallboy. I like to consider the piece and try to go from there. Just my 2 cents worth.

**UPDATE***
And here is the photo Sienna sent me after she got it moved up into her room. Goes perfectly!!