It seems like it's been ages since I've worked on anything! I have a really good excuse,,,,Pertussis!!
Yep. Good old whooping cough. Who in the heck gets whooping cough now-a-days??! Um, me?
Let me just say, get your vaccines!! You DO NOT want to get this. I won't go into details (google it) However, I will say gasping for air every morning upon waking for weeks on end is not a good time.
Anyway,,,,,I was in the middle of my sons room re-do when it hit.
Here's what was in the works,,,,,, I wanted to redo my sons room my acid staining the concrete slab (no more carpet in there!) and building him a platform bed that resembles this:
Here's what was in the works,,,,,, I wanted to redo my sons room my acid staining the concrete slab (no more carpet in there!) and building him a platform bed that resembles this:

I decided to use solid walnut and a walnut plywood (for the base). For a headboard, I thought I would do one of those artsy pieces where you cut pieces of wood of different sizes
and lay them out on a board.
Something like this:

Here is the bed-making pics. We just started with some measurements and built as we went.


This is the solid walnut that will be attached to the top as a cantilevered edging

OMG,,,,,we had to drag the mattress out in the garage to make sure we had the measurements right!! Good thing it fit because we did this AFTER the Kreg Jig part!! DOH!!
The mattress actually sits on another piece of plywood that spans the entire section and is supported by the corner pieces, as well as the cleats on the sides.
The mattress actually sits on another piece of plywood that spans the entire section and is supported by the corner pieces, as well as the cleats on the sides.

All the supports are done and edging is on. I bet you're wondering how in the heck are you going to move that into his room.
Uh-huh. That's what I kept saying. He said, "it will fit. don't worry".
(you can guess what this is leading to.....)

I did the majority of the sanding at this point. The whole thing took about an hour.
I pre-conditioned the wood and applied a few coats of Espresso/Dark Walnut

I just love working with walnut. It's gorge! However, I wasn't real thrilled with the ply used on the base. After I applied the stain, I saw a few spots that I messed up with the sander. Also, you can see some of the dark spots and spots that didn't take the stain well. That's from over zealous sanding. Another disadvantage using ply, the ends. They look icky. Something has to go over those edges.

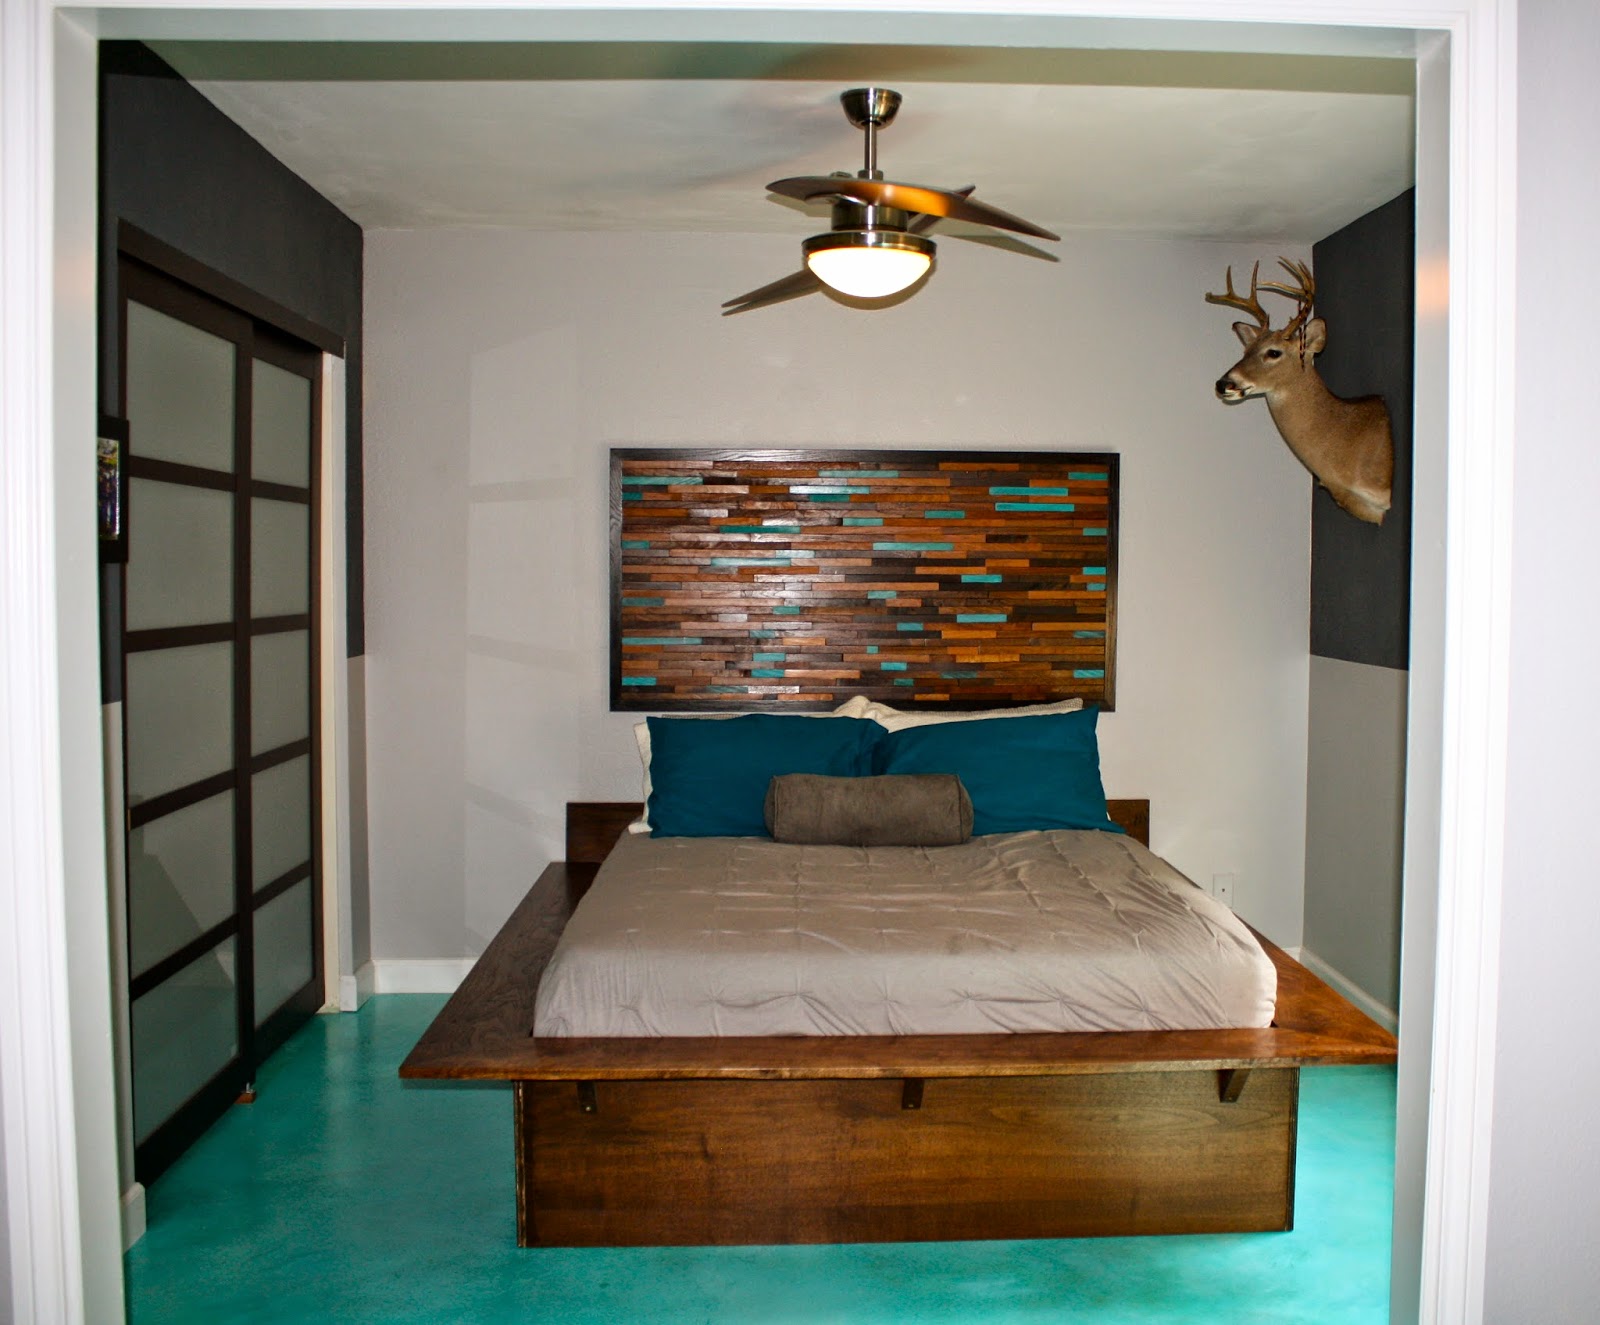
Since it's not fully completed, here is a quick peek of the bed in the room.
OH,,,yeah, about the trek of getting this from the garage into the room,,,,,Lets just say we had to go around the driveway, through the front door and out the fresh doors to the backyard, over the bridge of the koi pond, through the double doors into the master bedroom which
happens to be a straight shot to the sons bedroom!
Piece of cake!
Oh, did I mention how heavy solid wood is????
happens to be a straight shot to the sons bedroom!
Piece of cake!
Oh, did I mention how heavy solid wood is????
Hmmmm??? Mkay, thanks.

So here is the 6' long board where all those 1" Jenga-like pieces are getting glued to.

Yes why thank-you. I did rip every single one of these. First into 1" long pieces
and then cut into individual sizes.


Here's where I'm at today. Gets a little dicey with the measuring at the end. I'll write up a whole other post when this baby is done. If I ever get back my energy.......

Here's the room getting a skim coat of concrete over the existing slab

After applying the turquoise stain...


The only thing that I don't like is the edges. because it's plywood, an edging veneer should be used. But what the heck, half the time this bed isn't even made! Boys!